

About this item
Heat Shrink Butt Connectors Kit
The Heat Shrink Butt Connectors Kit is a must‑have tool for anyone working with electrical wiring — whether in automotive repairs, DIY projects, marine installations, or home electronics. Butt connectors allow you to join two wires securely, and the heat shrink coating provides extra protection and insulation for long‑lasting, reliable connections.
What Are Heat Shrink Butt Connectors?
Heat shrink butt connectors are electrical connectors designed to join two stripped wires end‑to‑end. Unlike standard crimp connectors, these feature a heat‑shrinkable outer sleeve with an internal adhesive liner. When heat is applied, the sleeve shrinks tightly around the wires and adhesive melts, sealing the connection against moisture, vibration, and corrosion.
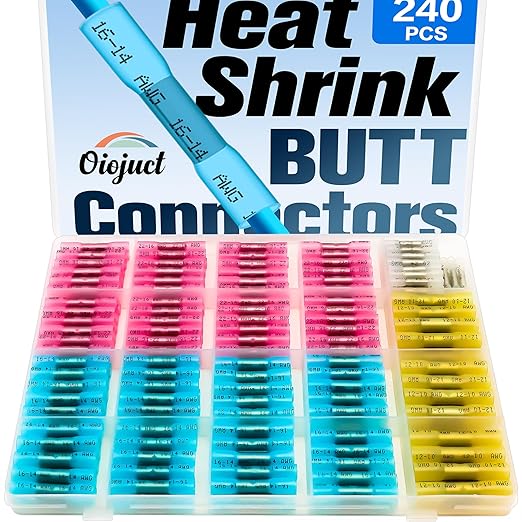
Kit Contents
A typical Heat Shrink Butt Connectors Kit includes:
Multiple butt connectors in various sizes
Assorted colors for wire gauge identification
A storage case or bag (optional)
Instructions for sizing and installation
Common sizes cover a wide range of wire gauges, making the kit versatile for automotive, household, marine, and industrial wiring tasks.
Design & Build Quality
The connectors are made with durable materials that ensure reliable electrical contact and mechanical strength. The heat shrink jacket is flexible yet tough, providing excellent insulation once heated. The internal metal barrel or sleeve is typically made of corrosion‑resistant material to maintain strong contact over time.
Performance & Uses
1. Automotive Wiring:
Ideal for repairing or extending vehicle wiring harnesses, lights, sensors, and audio systems.
2. DIY Electronics:
Perfect for projects involving LED strips, power supplies, switches, or custom wiring.
3. Marine & Outdoor Use:
Heat shrink + adhesive liner protects connections from water, salt, and weather, making these connectors suitable for boats and outdoor equipment.
4. Home & Industrial Repairs:
Useful for fixing appliances, power tools, and other electrical systems where secure, insulated joins are needed.
How to Install
Step‑by‑Step:
Strip Wire Ends: Remove the correct amount of insulation from both wires.
Select Connector Size: Match connector size to the wire gauge.
Insert Wires: Push both wires into the connector until they meet in the middle.
Crimp Securely: Use a crimping tool on the metal barrel to secure the wires.
Apply Heat: Use a heat gun or lighter to shrink the outer sleeve until it tightens around the wire and seals.
Proper installation ensures a strong, moisture‑resistant joint that won’t easily loosen or corrode.
Pros & Cons
| Pros | Cons |
|---|---|
| Provides a moisture‑resistant connection | Requires a heat source (heat gun or lighter) |
| Strong and durable joint | Not reusable once shrunk |
| Good for automotive, marine, and DIY wiring | Smaller kits may lack all sizes |
| Protection against vibration and corrosion | Crimping requires the right tool |
| Color‑coded for easy gauge identification | Adhesive may not melt evenly without proper heat |
Who Should Buy It?
Recommended For:
Mechanics and automotive DIYers
Electricians and wiring technicians
Hobbyists and makers
Marine and outdoor equipment installers
Not Ideal For:
Users without any heat source (heat gun or torch)
Situations needing frequent connection/disconnection
Very high‑amperage industrial wiring